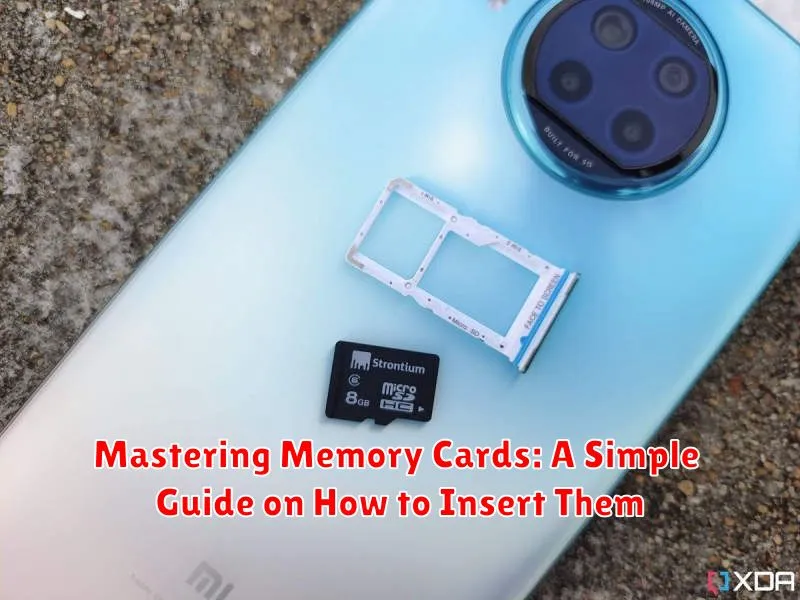
Memory cards are essential for storing data in various devices, from cameras and smartphones to gaming consoles and computers. Correctly inserting a memory card is crucial for its proper function and the safety of your data. This seemingly simple task can sometimes be confusing due to the variety of memory card types and device slots. This guide provides clear, concise instructions on how to insert memory cards, covering various formats and devices, ensuring you can confidently and correctly utilize your memory cards.
Whether you’re a seasoned photographer dealing with SD cards, a gamer navigating the world of microSD cards, or simply a smartphone user wanting to expand storage, understanding how to properly insert a memory card is fundamental. This guide will demystify the process, providing a step-by-step approach to inserting memory cards, avoiding common pitfalls, and ensuring optimal performance of your devices. From identifying the correct orientation to safely inserting and removing the memory card, you’ll become a master of memory card insertion.
Understanding Memory Card Types and Sizes
Memory cards come in various types and sizes, each designed for different devices and storage needs. Understanding these differences is crucial for selecting the right card for your device.
Common types include SD (Secure Digital) cards, the most prevalent format, often used in cameras, smartphones, and other portable devices. MicroSD cards are a smaller version of SD cards, popular in smartphones and action cameras. CompactFlash (CF) cards, known for their durability and speed, are typically used in professional cameras.
Sizes are typically measured in gigabytes (GB) and terabytes (TB), indicating storage capacity. A larger number signifies more storage space. Choosing the correct size depends on your usage; high-resolution photos and videos require more storage than basic files.
Pay attention to the speed class rating, indicated by a number within a circle (e.g., 4, 6, 10). This represents the minimum sustained write speed, essential for recording video. A higher number indicates faster write speeds, suitable for recording high-definition video.
Locating the Memory Card Slot on Your Device
Finding the memory card slot can sometimes be a little tricky, as its location varies depending on the device. Carefully examine your device for a small slot, often marked with an SD card symbol. Common locations include:
- Side of the device: Many smartphones, tablets, and cameras place the slot along the edge.
- Under the battery compartment: Some older devices and digital cameras may hide the slot beneath the battery.
- Behind a small cover or door: For aesthetic reasons, some devices conceal the slot behind a protective cover.
Consult your device’s user manual if you are unable to locate the slot. The manual will provide a clear diagram or description of the slot’s exact position.
Note: Some devices may use a tray system for SIM and memory cards. Look for a small pinhole near a tray. Inserting a paperclip or SIM ejector tool into this hole will release the tray.
Preparing the Memory Card for Insertion
Before inserting your memory card, it’s crucial to ensure it’s properly prepared. This involves checking a few key aspects to prevent potential issues and ensure smooth operation.
Firstly, inspect the memory card for any physical damage. Look for bent connectors, cracks, or any debris that might interfere with the connection. If you find any damage, it’s best to replace the card.
Next, if you are reusing a memory card, ensure its contents are backed up. While inserting a card shouldn’t erase data, it’s always a good practice to have a backup to prevent accidental data loss.
Finally, if the card is brand new, you may need to format it. Some devices require formatting before the memory card can be used. Consult your device’s manual to confirm if this step is necessary. Keep in mind formatting will erase all data on the card.
Inserting the Memory Card Correctly
Once you’ve identified the memory card slot and oriented your card, it’s time to insert it. Gently slide the memory card into the slot. Ensure it is facing the correct direction, as indicated by the slot’s shape and/or the labels on the card and device. You should feel slight resistance initially, then a subtle click or a feeling of the card seating into place. Do not force the card. If it doesn’t slide in easily, double-check the orientation and try again. Some devices require you to push the card in until it clicks, while others have a spring-loaded mechanism that will hold the card in place once it’s inserted far enough.
Important Note: The amount of pressure needed to insert a memory card varies depending on the device. If you are unsure, consult your device’s user manual.
Verifying Memory Card Installation
Once you’ve inserted the memory card, it’s crucial to verify that your device recognizes it. The method for verification varies slightly depending on the device.
For many devices, especially cameras, a small icon indicating the presence of a memory card will appear on the screen. This icon often resembles a small SD card. Check your device’s display for this icon immediately after insertion.
Alternatively, you can access your device’s file manager or settings menu. Look for a storage section or a section specifically related to memory cards. Your inserted card should be listed, often along with its available storage capacity.
In some cases, the device may automatically prompt you with options related to the newly inserted card, such as formatting or using it as default storage. This also confirms successful installation.
Troubleshooting Common Memory Card Issues

Occasionally, you might encounter issues with your memory card. Here are some common problems and their solutions:
Memory Card Not Recognized
If your device doesn’t recognize the memory card, ensure it’s inserted correctly and fully seated in the slot. Try restarting your device. If the problem persists, try the card in another compatible device. If it works in another device, the issue might be with your original device’s card reader.
“Card Error” or Similar Message
Error messages often indicate a problem with the card’s formatting or file system. Try connecting the card to a computer and running a disk check or repair utility. Back up your data before performing any repair as it might erase some or all of the data on the card. If errors persist, the card may be damaged.
“Write-Protected” Error
If you can’t save new files to your memory card, it may be write-protected. Look for a small switch on the side of the card. If present, slide it to the unlocked position. Some adapters also have these switches.
Slow Transfer Speeds
Slow transfer speeds could be due to a slower card speed class. Consider using a card with a higher speed class for demanding applications like recording high-resolution videos. Also, ensure your card reader and connecting cables support faster transfer rates.
Safely Removing Your Memory Card

Improper removal of a memory card can lead to data corruption or damage to both the card and your device. Follow these steps to safely remove your memory card.
Most devices offer a safe removal process, often referred to as “ejecting” or “unmounting.” This process ensures all data writing operations are complete before the card is physically removed.
For computers: Look for the “safely remove hardware” icon in your system tray (usually near the clock). Click it and select the memory card to eject. Once notified it is safe, then remove the card.
For cameras and other devices: Refer to your device’s user manual for specific instructions on safely removing the memory card. Some devices have a dedicated eject button, while others may require navigating through menus.
Never remove the memory card while data is being written or read. Indicators like flashing lights typically signify activity. Wait until all activity ceases before removing the card.

